- Proyectos y Documentos propios de gvSIG
- Introdución
- Salvar y Cerrar un proyecto
- Abrir un proyecto ya existente
- Nuevo proyecto
- Configurar preferencias de gvSIG
- Introducción
- Preferencias Edición
- Introducción
- Color de la selección
- Color del eje de referencia
- Color de la geometría de selección
- Color de los handlers (vértices) seleccionados
- Preferencias generales
- Introducción
- Directorio de las extensiones
- Seleccionar idioma
- Establecer navegador web por defecto (sólo Linux)
- Activar/ Desactivar extensiones de gvSIG
- Seleccionar apariencia de gvSIG
- Configurar acceso rápido a carpetas con datos
- Configurar resolución de pantalla
- Configurar preferencias del mapa (malla)
- Preferencias de las anotaciones
- Comprobar Red , configurar PROXY
- Configurar preferencias de una vista de gvSIG
- Guardar un proyecto
Proyectos y Documentos propios de gvSIG
Introdución
In gvSIG all the activities are located in one project. This project is made up of different documents. There are three types of documents in gvSIG: views, tables and maps.
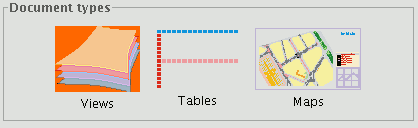
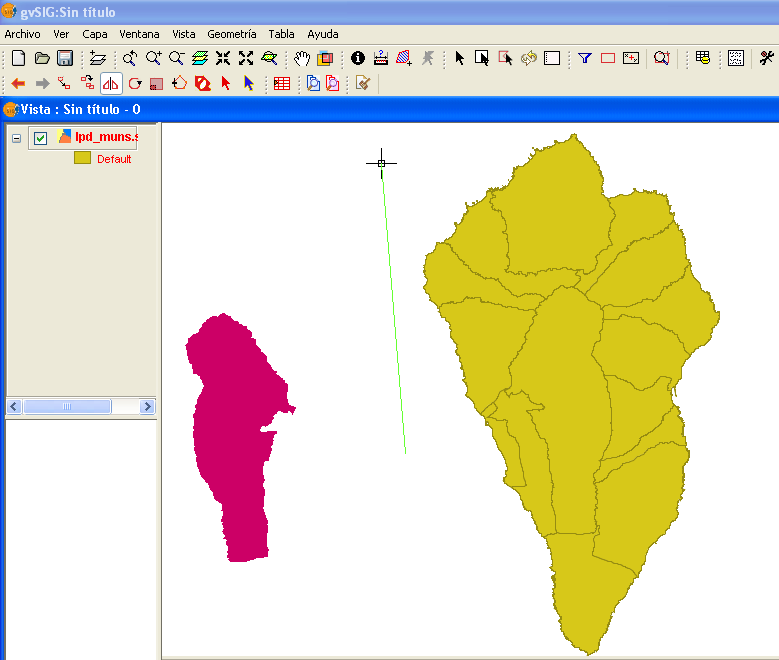
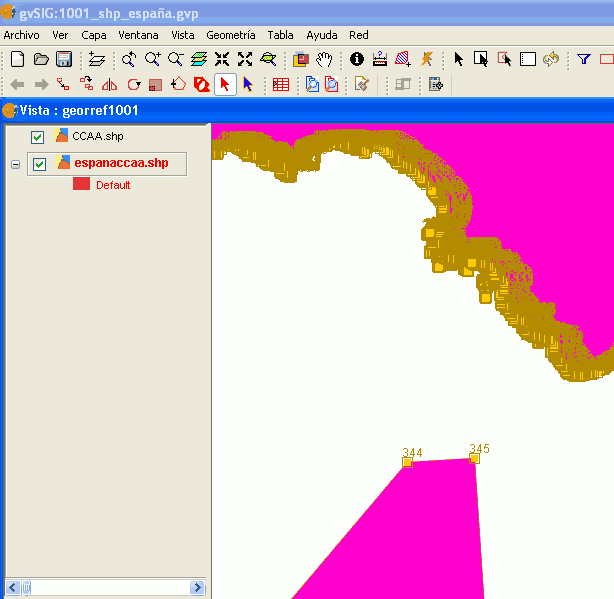
Views: Views are the documents in which we work with graphic data.
Tables: Tables are the documents in which we work with alphanumeric data.
Maps: A map generator which allows the different cartographic elements included in a map (view, legend, scale…) to be inserted.
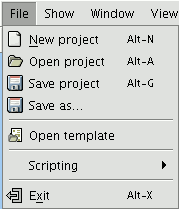
Projects are files with a “.gvp” extension. These files do not include spatial data and associated attributes in the shape of tables. Instead they save references to the places the data sources are stored (the path to be followed in the disk in order to find the files). If the data changes the updates will be shown in all the projects they are used in. The menu which allows you to access the project management options is located in the “File” menu

And in the following toolbar buttons (“New project”, “Open project” and “Save project”).
Salvar y Cerrar un proyecto
When you decide to finish a session in gvSIG, a window such as the one shown below appears:
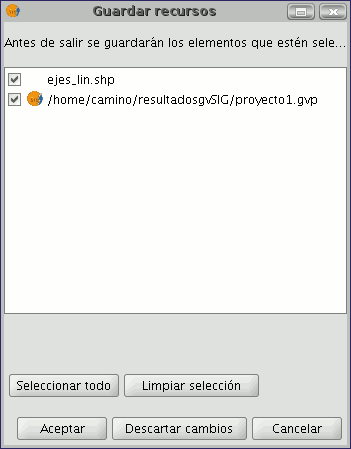
The text box shows both the name of the project currently in use as well as the layers and tables which were being edited before the decision to close the project was made. The “Select all” and “Clear selection” buttons allow you to enable or disable the check boxes in the text box which correspond to the project or to the layers being edited.
If you click on “Ok”, the changes made to the enabled elements in the text box will be saved.
If you click on “Discard changes”, none of the changes made in the project will be saved irrespective of whether they have been enabled or not.
The “Cancel” button allows you to exit the window.
Abrir un proyecto ya existente
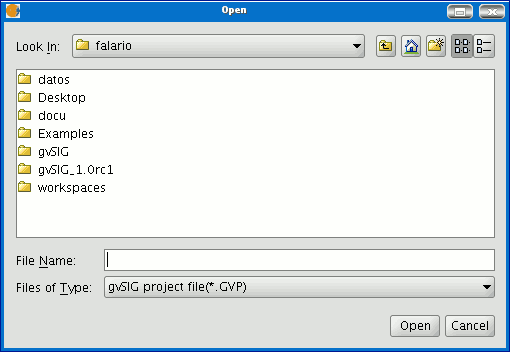
- If you wish to open an existing project to see or modify it, go to the “File” menu and click on “Open project”. Alternatively, press the “Alt+A” key combination or the “Open project” button in the toolbar.

- When the project manager window is open, look for the “.gvp” file which contains the project you wish to open.
Nuevo proyecto
- Click on “File” in the menu bar and then on “New project”. Alternatively, press the “Alt+N” key combination or the “New” button in the toolbar.

- If you are already working on a project, the following message will appear when the button is pressed.
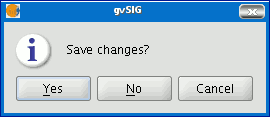
If you press “Yes”, a window will open so you can save your current gvSIG project. When the previous project has been saved a new blank project will appear on the screen.
Configurar preferencias de gvSIG
Introducción
The preference window allows you to customise gvSIG. You can access the preference window by going to the "Window" menu then to "Preferences"
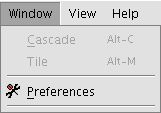
or by clicking on the “Preferences” button in the tool bar.

When you have accessed the tool, a new window appears in which you can configure your preferences.
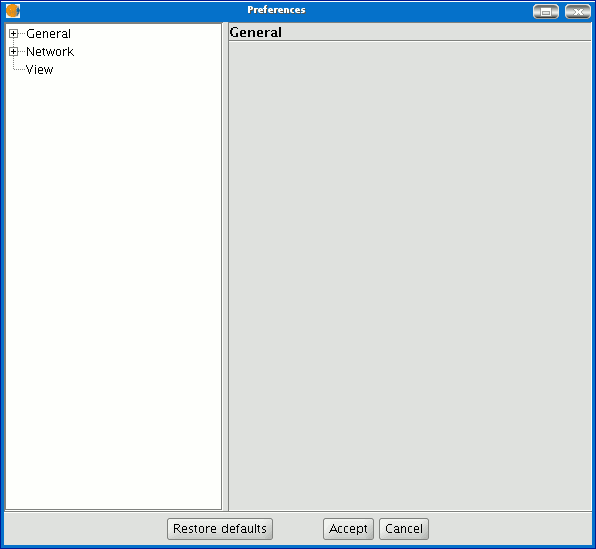
Select the property you wish to access from the tree on the left and the preferences you can configure will appear in the space on the right.
Preferencias Edición
Introducción
This allows a series of default colours used in a gvSIG editing session to be chosen. A detailed explanation is provided below:
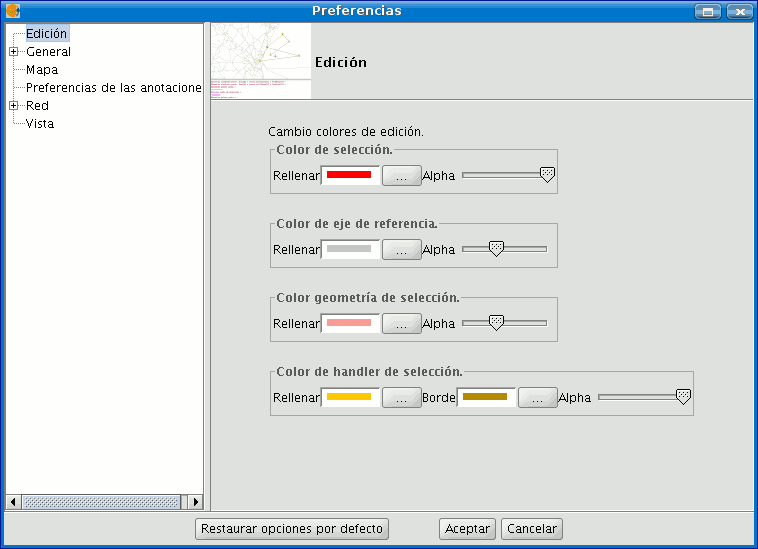
Color de la selección
This allows you to set the default colour for the selected geometry of a layer which is being edited.

Color del eje de referencia
This allows you to set the colour of the reference axis which will guide you through any editing operations, for instance operations such as “symmetry”, “rotate” etc…
Color de la geometría de selección
This allows you to set the default colour of the selection frame used to select the required geometry.
Color de los handlers (vértices) seleccionados
This allows you to set the default colour for the “Handlers”, in other words the vertexes which make up the selected object. In this case, the colour of the outline can be selected, as can the colour of the inside of the handler.
Preferencias generales
Introducción
This tool establishes whether gvSIG needs to remember the project windows’ position and size.
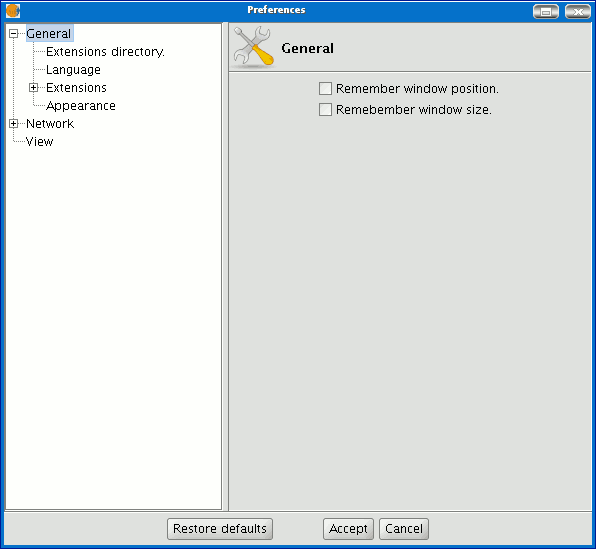
If you pull down the tree (click on “+”), the properties you can configure in “General” will appear.
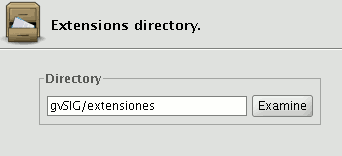
Directorio de las extensiones
This tool defines the directory for the extensions that gvSIG must use.
Seleccionar idioma
This allows you to select the language in which gvSIG must be shown. To select a language, click on the pull-down menu and select the language from those available.
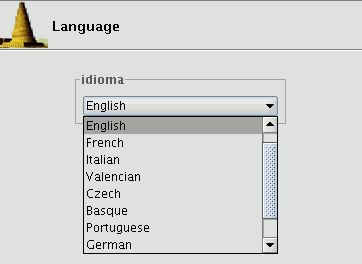
Remember that gvSIG must be restarted for the language change to take effect.
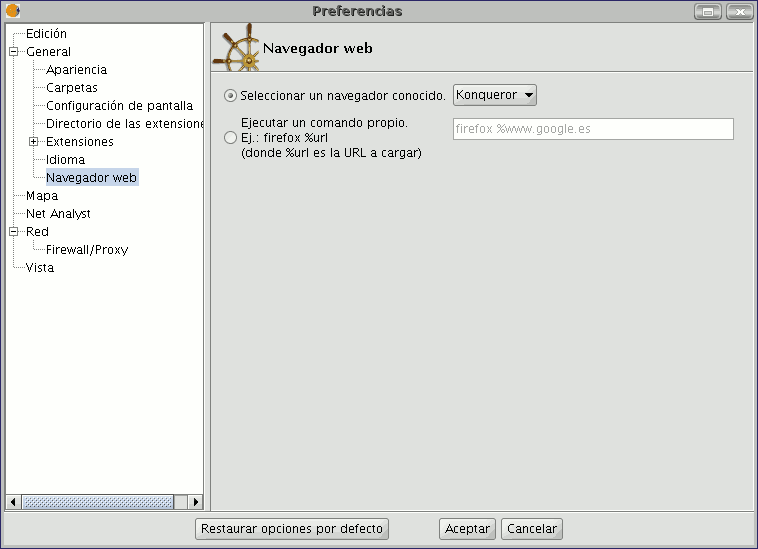
Establecer navegador web por defecto (sólo Linux)
This allows a default web browser (for the Linux operating system) to be specified for any search carried out from gvSIG to any of the hyperlinks found in the application.
The first option contains the pull-down menu in which the different supported browsers are located.
The second option can be used to specify which browser you want to open the different URLs included in the application such as the URLs in the “Help” menu (Example: firefox %www.gvsig.gva.es).
Activar/ Desactivar extensiones de gvSIG
This allows you to configure the extensions that gvSIG uses while running. Pull down the extension tree and select the required extension.
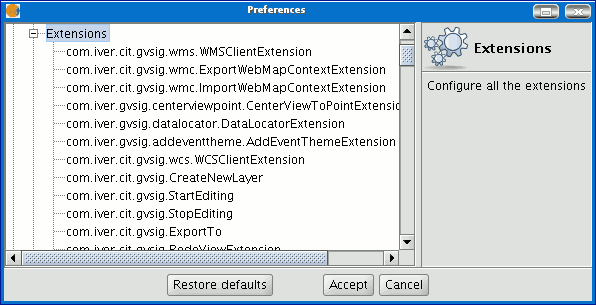
A description of the selected extension is displayed. You can activate or deactivate the extension and modify its order of priority in the list.
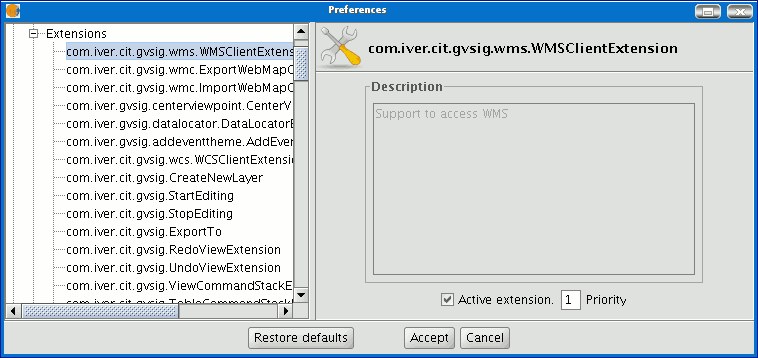
N.B.: If you activate an extension, you will have to restart gvSIG to use it.
Seleccionar apariencia de gvSIG
You can use this tool to modify gvSIG’s appearance. Pull down the box with the available options and select the required option.
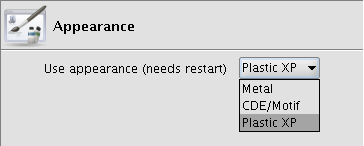
N.B.: You will have to restart gvSIG for this change to take effect.
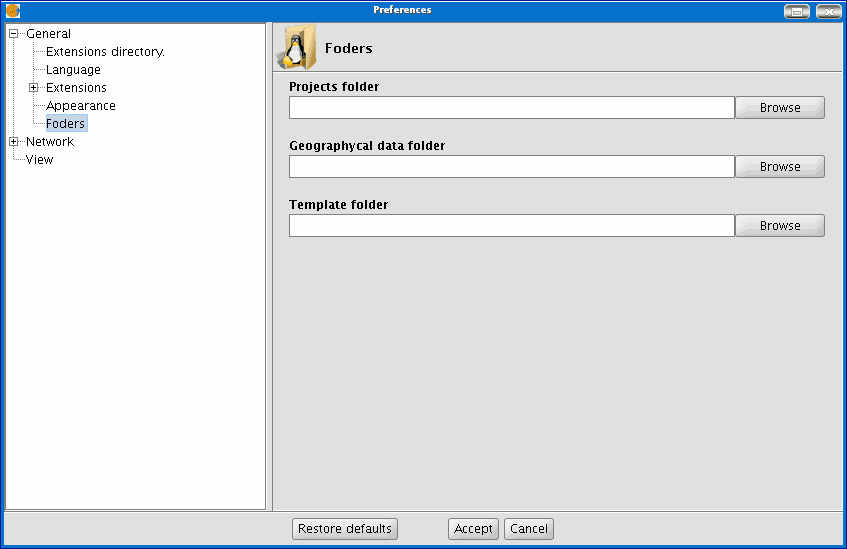
Configurar acceso rápido a carpetas con datos
You can use this option to create a shortcut to the folders your projects (.gvp), data (raster and vector) or templates (.gvt) are saved in.
Configurar resolución de pantalla
You can specify the points per inch for your display in the “Resolution” text box.
gvSIG allows you to calculate the exact resolution of your display as follows:
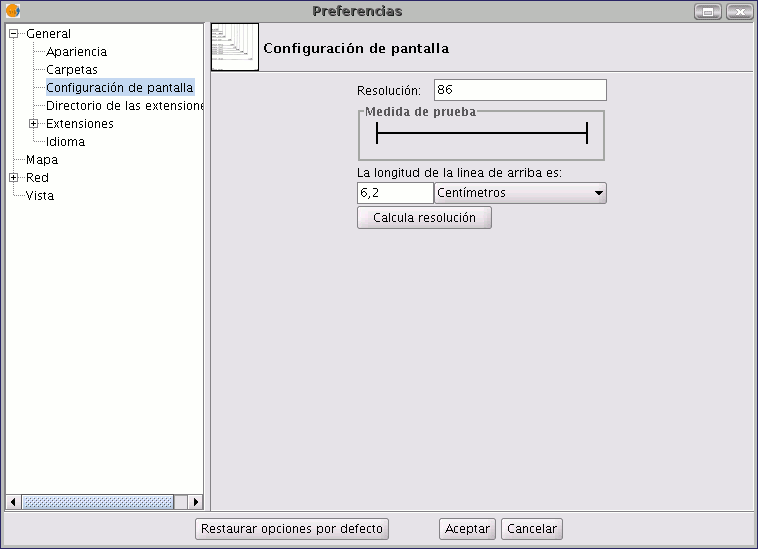
Place a ruler on the screen to measure the straight line drawn in the “Test measurement” box.
Write the measurement obtained in the text box underneath (the value 5.61 has been inserted in this example) and the units in which this measurement was taken (“Centimetres” in our case).
Click on the “Calculate resolution” button.
gvSIG automatically provides a points per inch value for the resolution of your display.
This appears in the corresponding text box (the result in our case is 95ppi).
Configurar preferencias del mapa (malla)
This section of the preference window can be used to customise how you wish to work with your map documents.
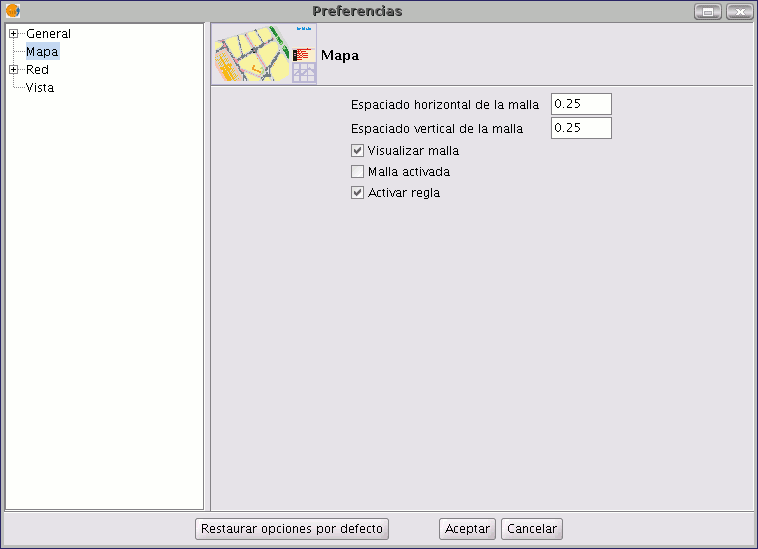
You can define both the horizontal and vertical grid spacing values and decide whether the grid should be displayed, enabled or disabled and whether the ruler should be enabled or disabled simply by clicking on the required check boxes. When you have selected your preferences, click on “Ok”.
Preferencias de las anotaciones
The annotation preferences allow you to define the default characteristics you wish the annotation layers to have.
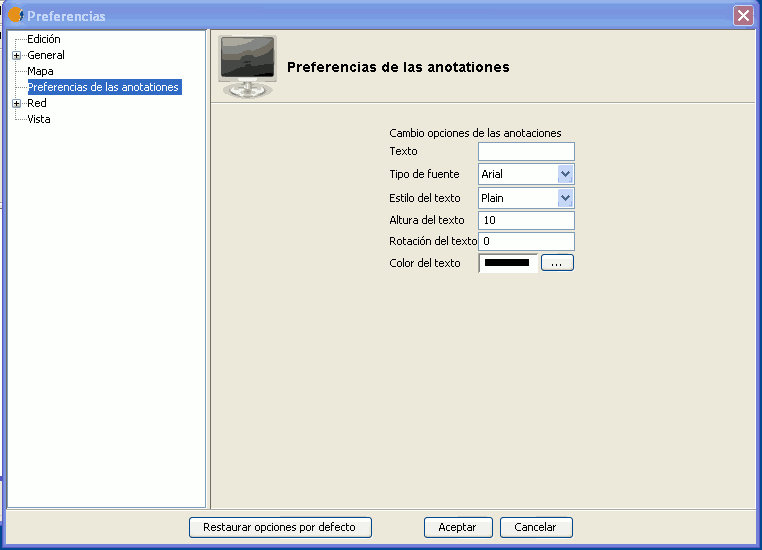
You can predefine the default characteristics you wish the annotation layers to have.
Text You can select the default text to be written in the annotation layer if the record of the field you have chosen to label is blank. You can choose not to write anything in the record if you wish so that it remains blank.
Font type You can select the default font type in which you wish the annotation layer’s text to be written.
Text style You can select the default text style you wish the annotation layer to have.
Text height You can select the default text height you wish to be used in the annotation layers.
Text rotation You can use the text rotation option to select the default orientation that the text in the annotation layers will have. For example, if you want the text to be shown horizontally, input “0 degrees”. If you want the text to be shown vertically, input 90º. Remember that gvSIG uses sexagesimal graduation and this turns anti-clockwise.
Text colour You can select the default text colour you wish the text in the annotation layers to be shown in.
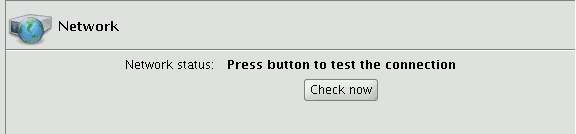
Comprobar Red , configurar PROXY
gvSIG allows you to check the status of a network connection.
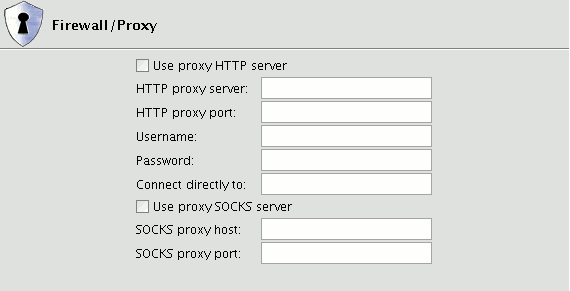
Firewall/Proxy
If you use a proxy connection, you can configure your connection parameters so that gvSIG can use them.
Configurar preferencias de una vista de gvSIG
You can configure the values that gvSIG will use for zooming in or out of a view and changing the selection colour which by default is "Yellow".
You can also use this window to define map and measuring units for gvSIG.
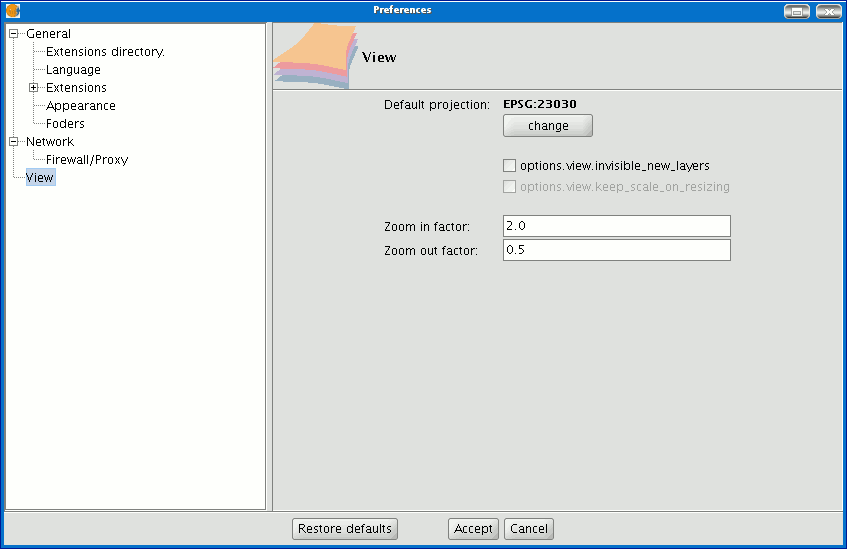
You can use this window to change the view projection by clicking on the "Change" button. A dialogue box appears from which you can choose the reference system.
Guardar un proyecto
- Click on “File” in the menu bar and then on “Save project”. Alternatively, press the “Alt+G” key combination, or the “Save” button in the toolbar.

- When the file manager window is opened you can name the project and choose where to save it.

- The project is saved in a file with a “.gvp” extension.
